14 DAY TRIAL //
 In order to create a bootable USB with OS X Yosemite (10.10), you need to use an 8 GB+ USB storage device.
Step 1
Download "Install OS X Yosemite.app" from App Store.
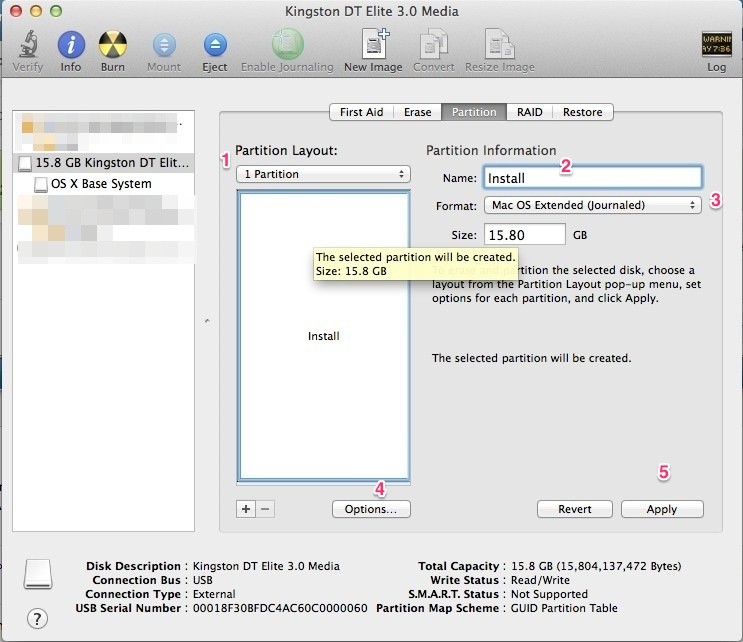
Step 2
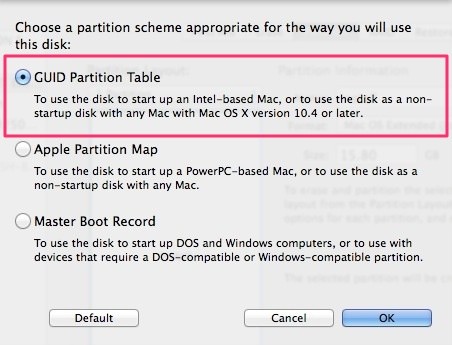
Open Disk Utils and create one HFS+ Partition on the USB called "Install." On the Partition options select GUID.
Step 3
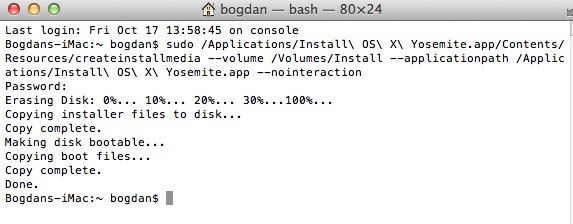
Open "Terminal" and paste the following command:
Copying installer files to disk...
Copy complete.
Making disk bootable...
Copying boot files...
Copy complete.
Done.
Follow Steps 1 and 2, after that just run the program, select 10.10, "Install OS X Yosemite.app" and wait for the program to finish.
Depending on your USB device, the process could take 5 to 15 minutes. A USB 3.0 drive is recommended.
Once you're there, you have only a few more things to do in order to start the installation of your new Yosemite OS X version. Simply plug in your bootable USB drive, reboot the system and press the Option key during the booting process. Select the USB drive as a boot source and the installation process should start. Follow the on-screen instructions and you should be good to go.