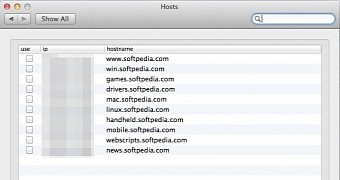
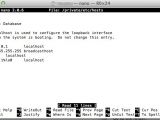
If you want to have custom DNS settings for some domains on your Mac (prank or development), you must edit a text file called hosts.
You need administrator rights in order to do this.
There are at least two ways to edit the file:
1. Use an app installed in System Preferences; 2. Directly edit the host file in Terminal.
Now let’s take them one at a time and see how we can achieve that.
1. Install Host app.
It will install a panel in System Preferences, where you can add/remove lines to/from the host file.
This is a fast and easy method if you have rare and little modifications, but it can prove rather frustrating if you have to add multiple lines.
2. The classic way to edit the host file is via Terminal. Thus, open Terminal and run:
When you finish editing the file, hit Ctrl+X to exit and Y to save.
You need to restart the DNS service, so run this command in Terminal.
For Mavericks:

 14 DAY TRIAL //
